I bought a 3D printer back in the middle of 2020. I'd been eyeing one up for a while but had never pulled the trigger because they're quite pricey, and I wasn't particularly interested in a DIY system that would require a bunch of tinkering and tweaking in order to get right. Luckily, Prusa came out with their excellent Mk3 platform a couple of years back, which they then upgraded to the Mk3S platform recently, and after a couple of my friends also bought one, I decided to bite the bullet and make the purchase.
I've got a few hundred hours on the printer now, and one of the main problems i've found with it has been around temperature control. The overall bed temperature is usually fine, but the setup for my printer is close to a window, and whilst it's generally OK in the summer, in the winter, living in an 18th century cottage, the heat exits the room as fast as the radiator can pump it out, which has shown up as issues around print bed adhesion - particularly in PLA prints.
To combat this (and stuff like dust, which is another major problem I have, sharing the house with both a cat and a dog), the Prusa3D Subreddit started looking into different DIY enclosure solutions, and eventually collectively came to the conclusion of using an IKEA Lack table, some 3D printed parts, and some Acrylic sheets/Perspex cut to size. Prusa have a page of instructions here.
Including the spool parts, it comes to 24 or so individual pieces that need printing. I chose not to move the PSU because I'm not printing ASA and don't run my PETG too warm - plus if it gets toasty I can always crack the door open a little (which is recommended anyway).
Overall it took about 30 hours to print everything, which I did over several days.
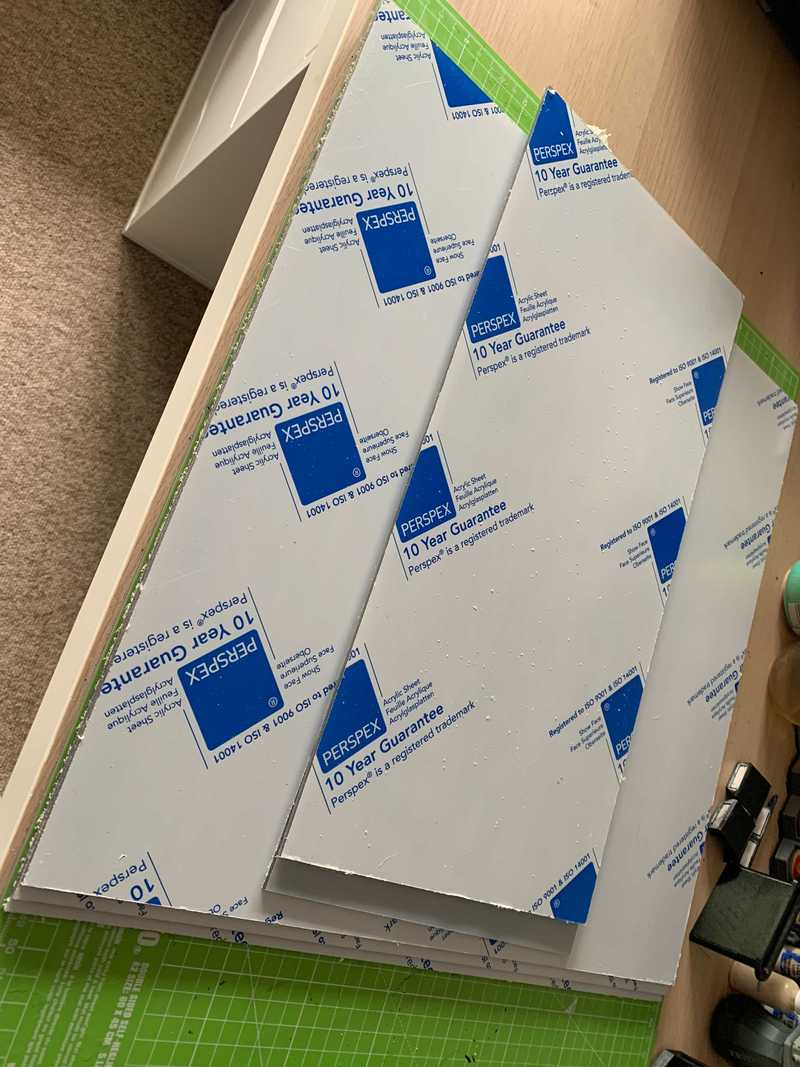
I got my acrylic from Cut My Plastic, which came to about £50. It would have been cheaper, but I opted to go for a slightly smoked acrylic which looks nice against the white legs of the enclosure, and pale top of my desk.
It was a little fiddly to get everything together. The tolerances on the mountpoints for the acrylic are very low, so if you have roughly-cut sheets you might have a bad time. Likewise, if you do what I did and screw the legs into the table top using the existing IKEA fixings, it makes it impossible to securely fasten the standoffs and you have to buy a new table. Don't do what I did.
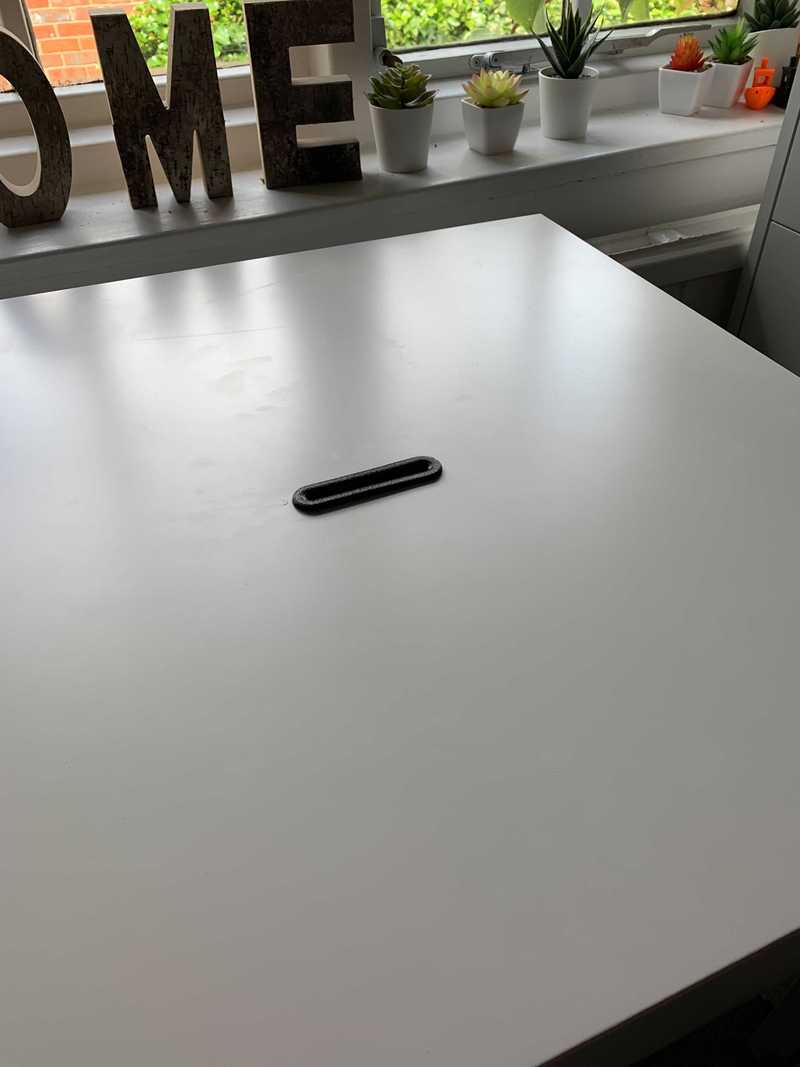
Pretty much the only "Upgrade" I made to the Prusa design, was the introduction of a slot feed for the filament, rather than a single drilled hole. the reason for this was because I didn't want the filament bending too much as the print head shuttled left and right along the X axis. Using the slot allows the filament to move more naturally.
And the final enclosure in position around my printer.
Unfortunately, because I've not relocated the PSU, it has to sit slightly off the back of the desk, so that I can feed the power cable in, so at some point in the future i'll probably take a saw to the acrylic and cut a little notch for it to feed through (or relocate the PSU if it turns out to have issues with the temperature). Overall, it took about a week from start to finish, including the delivery time of the acrylic and the print time of the parts. It took about 90 minutes to assemble and tweak into position, and hopefully it will save me many hours of failed prints from temperature and dust issues in the future!
Happy Printing!


